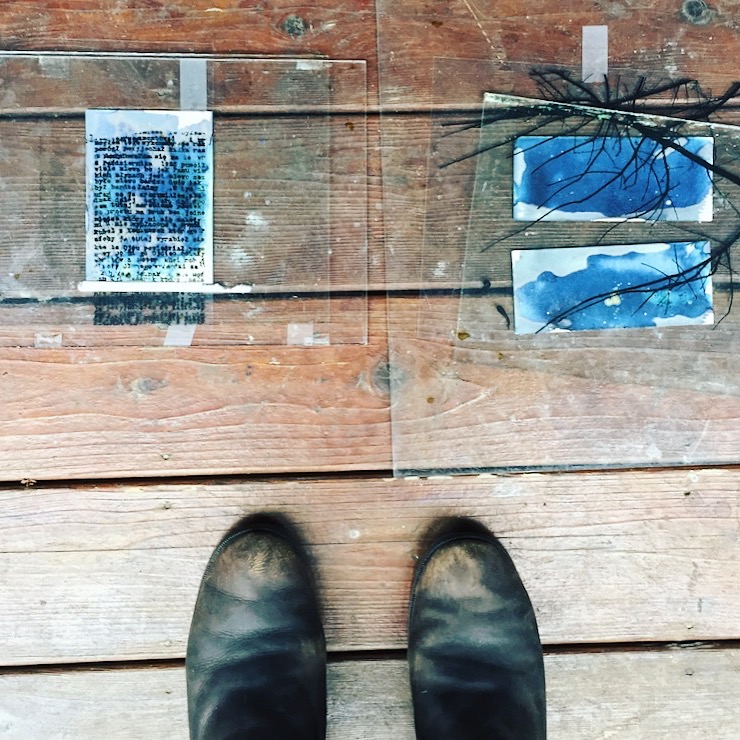
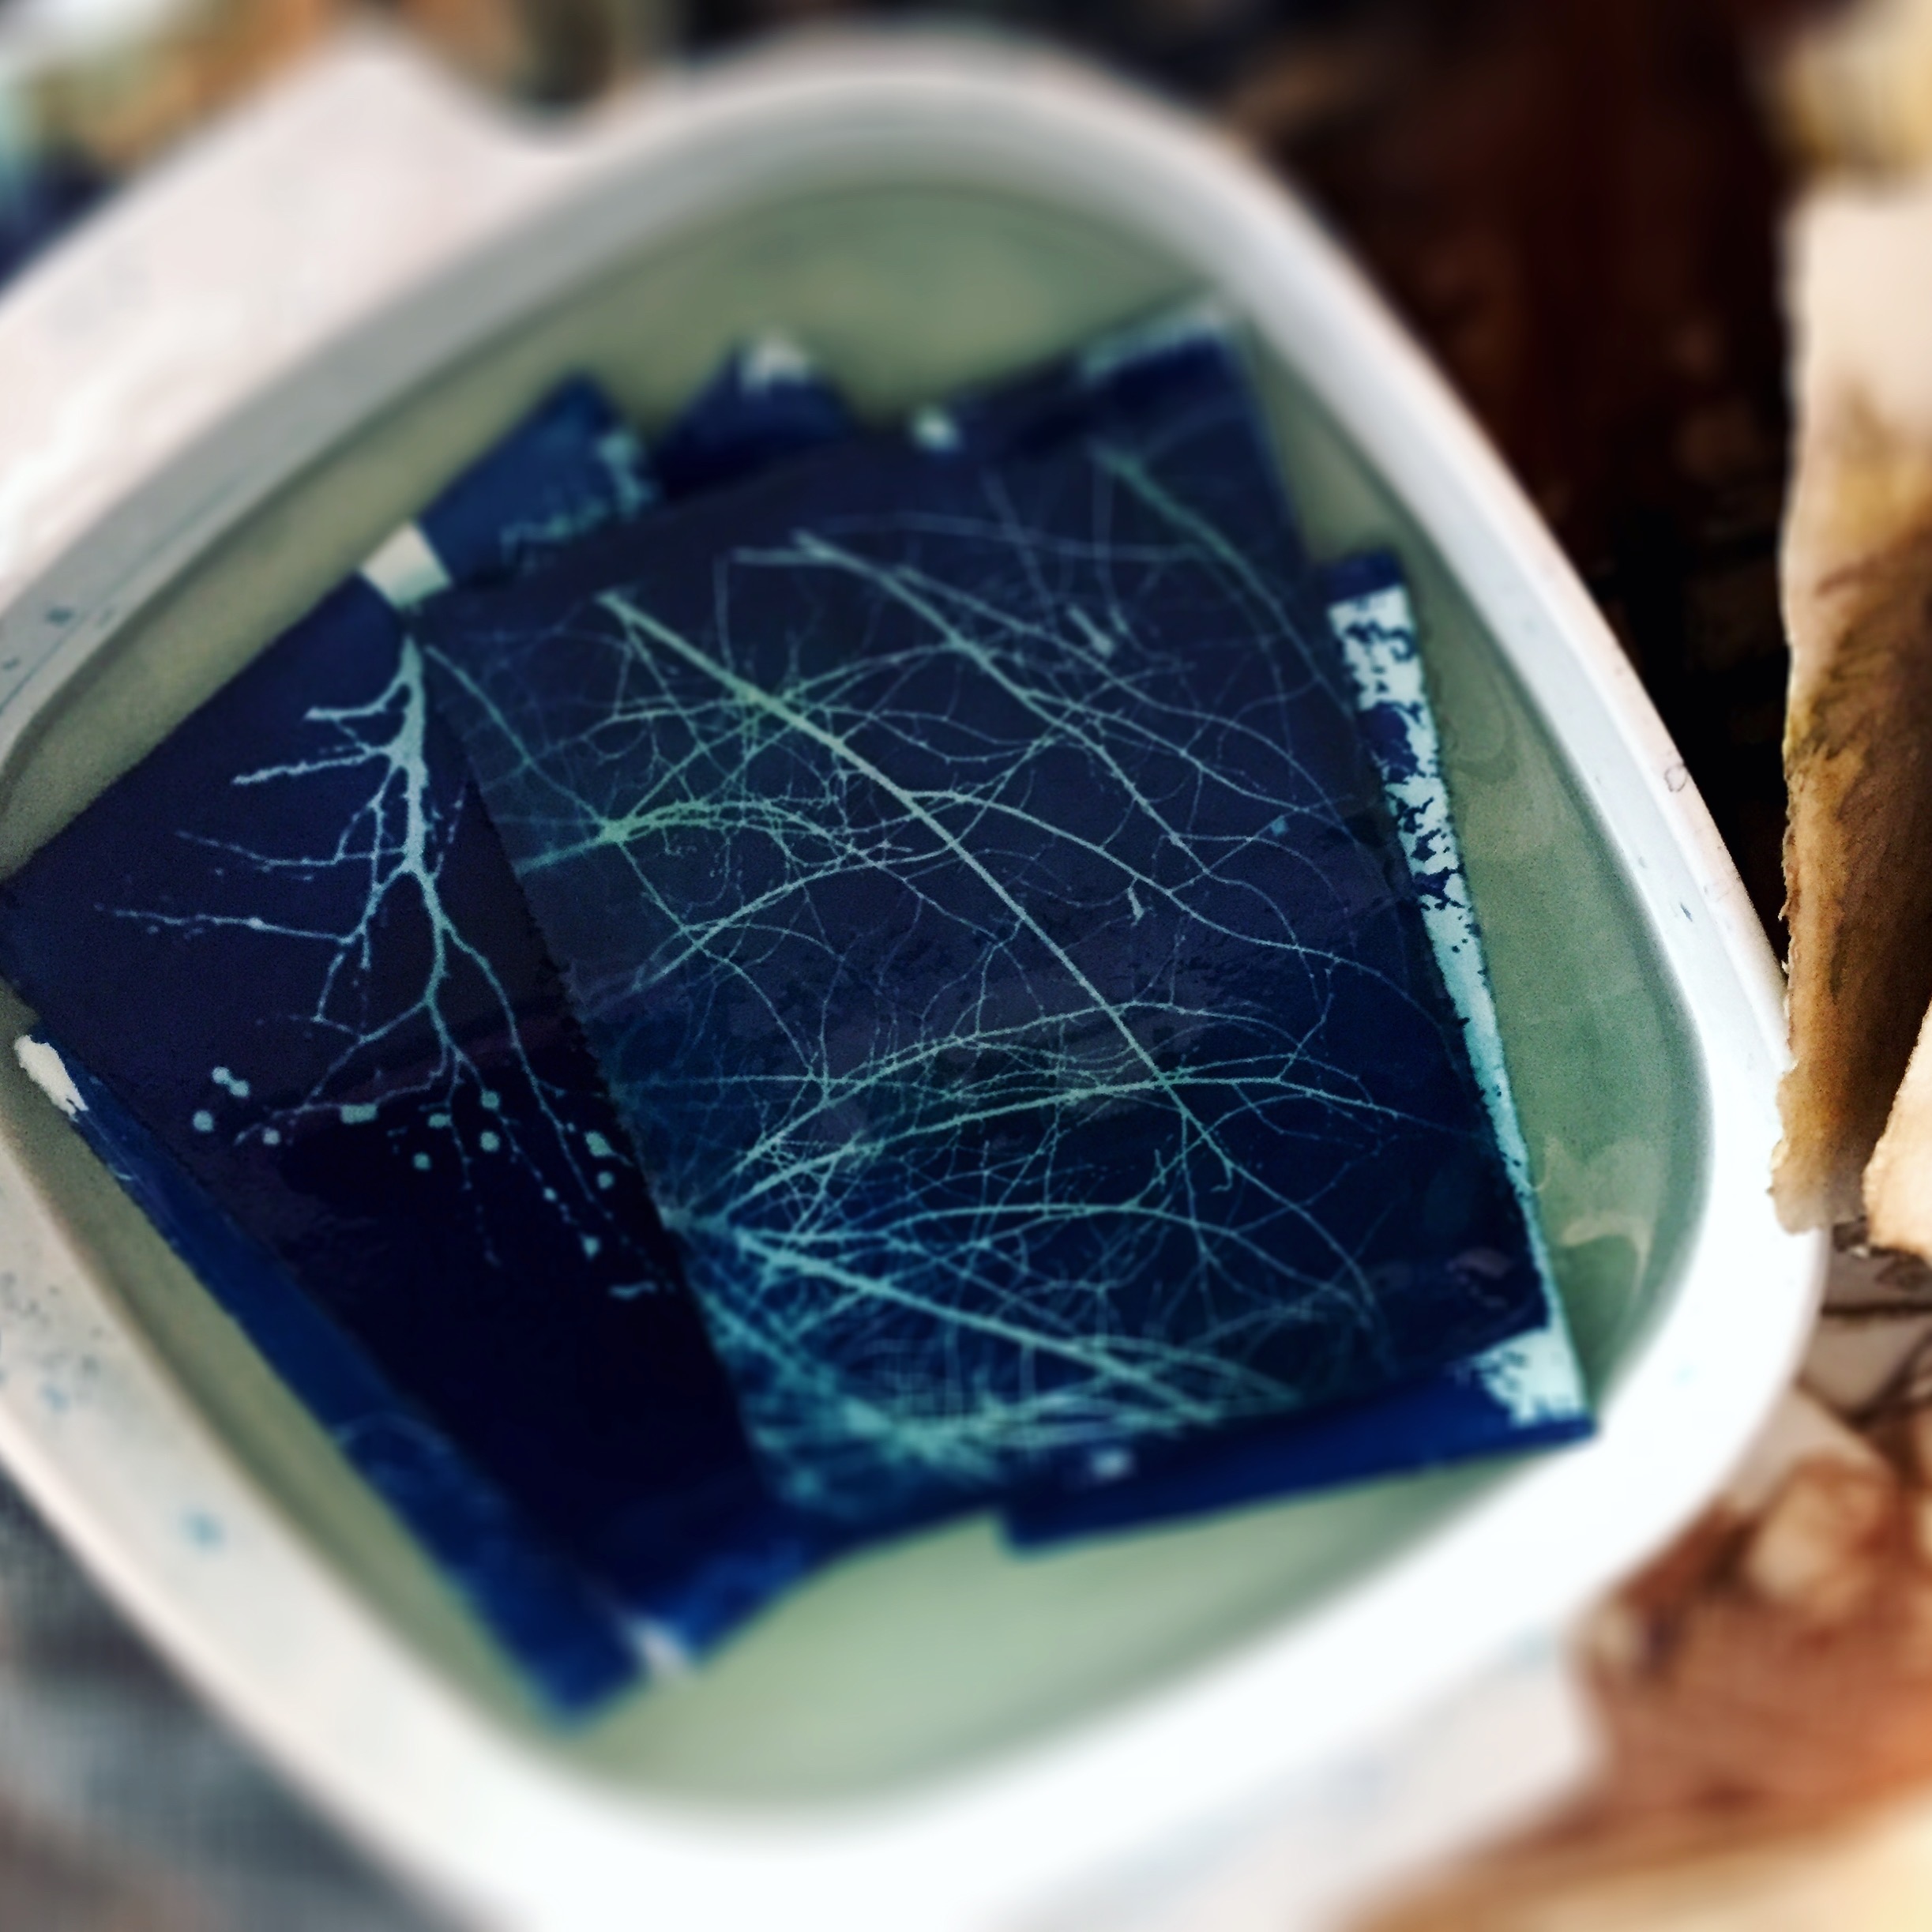
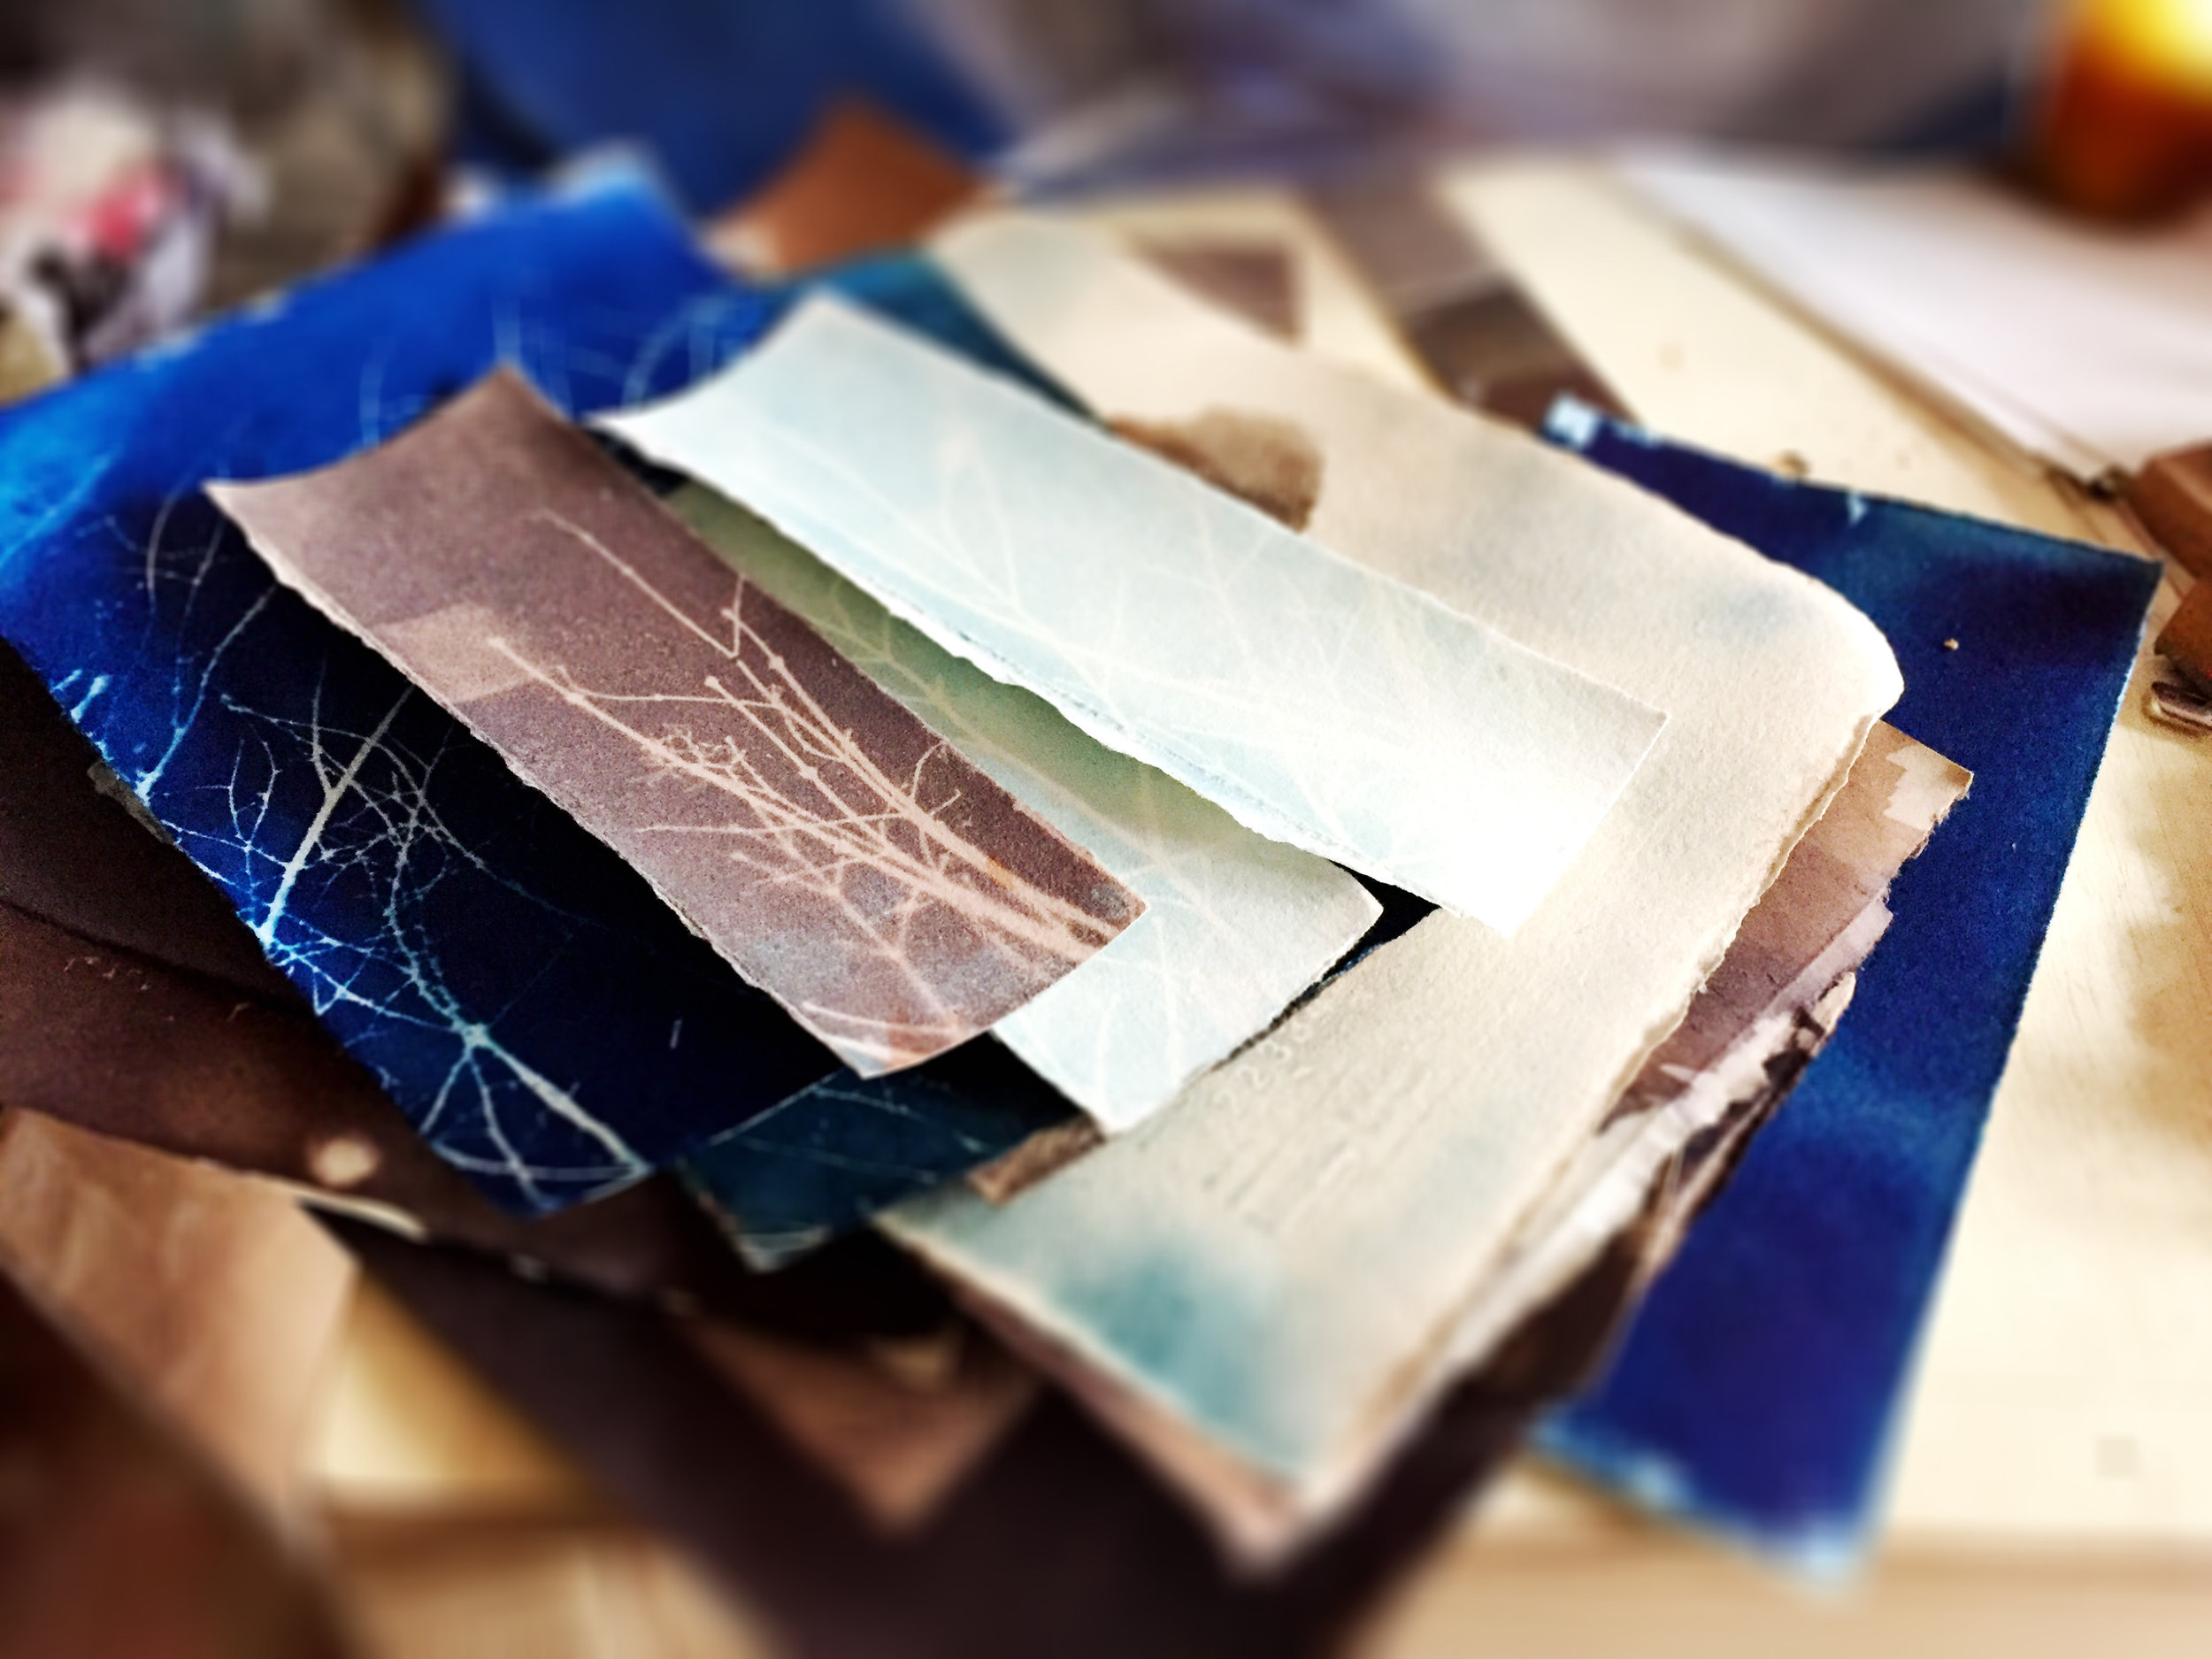
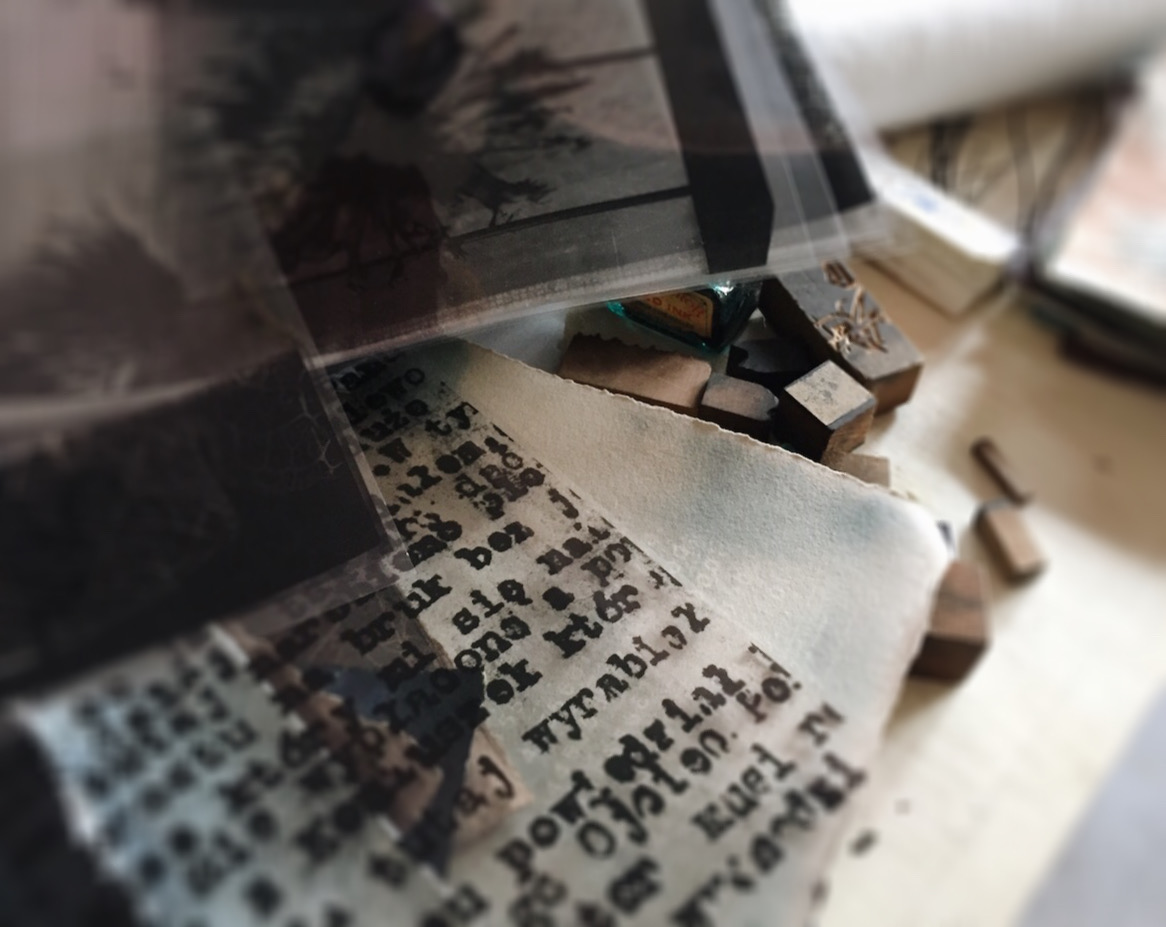
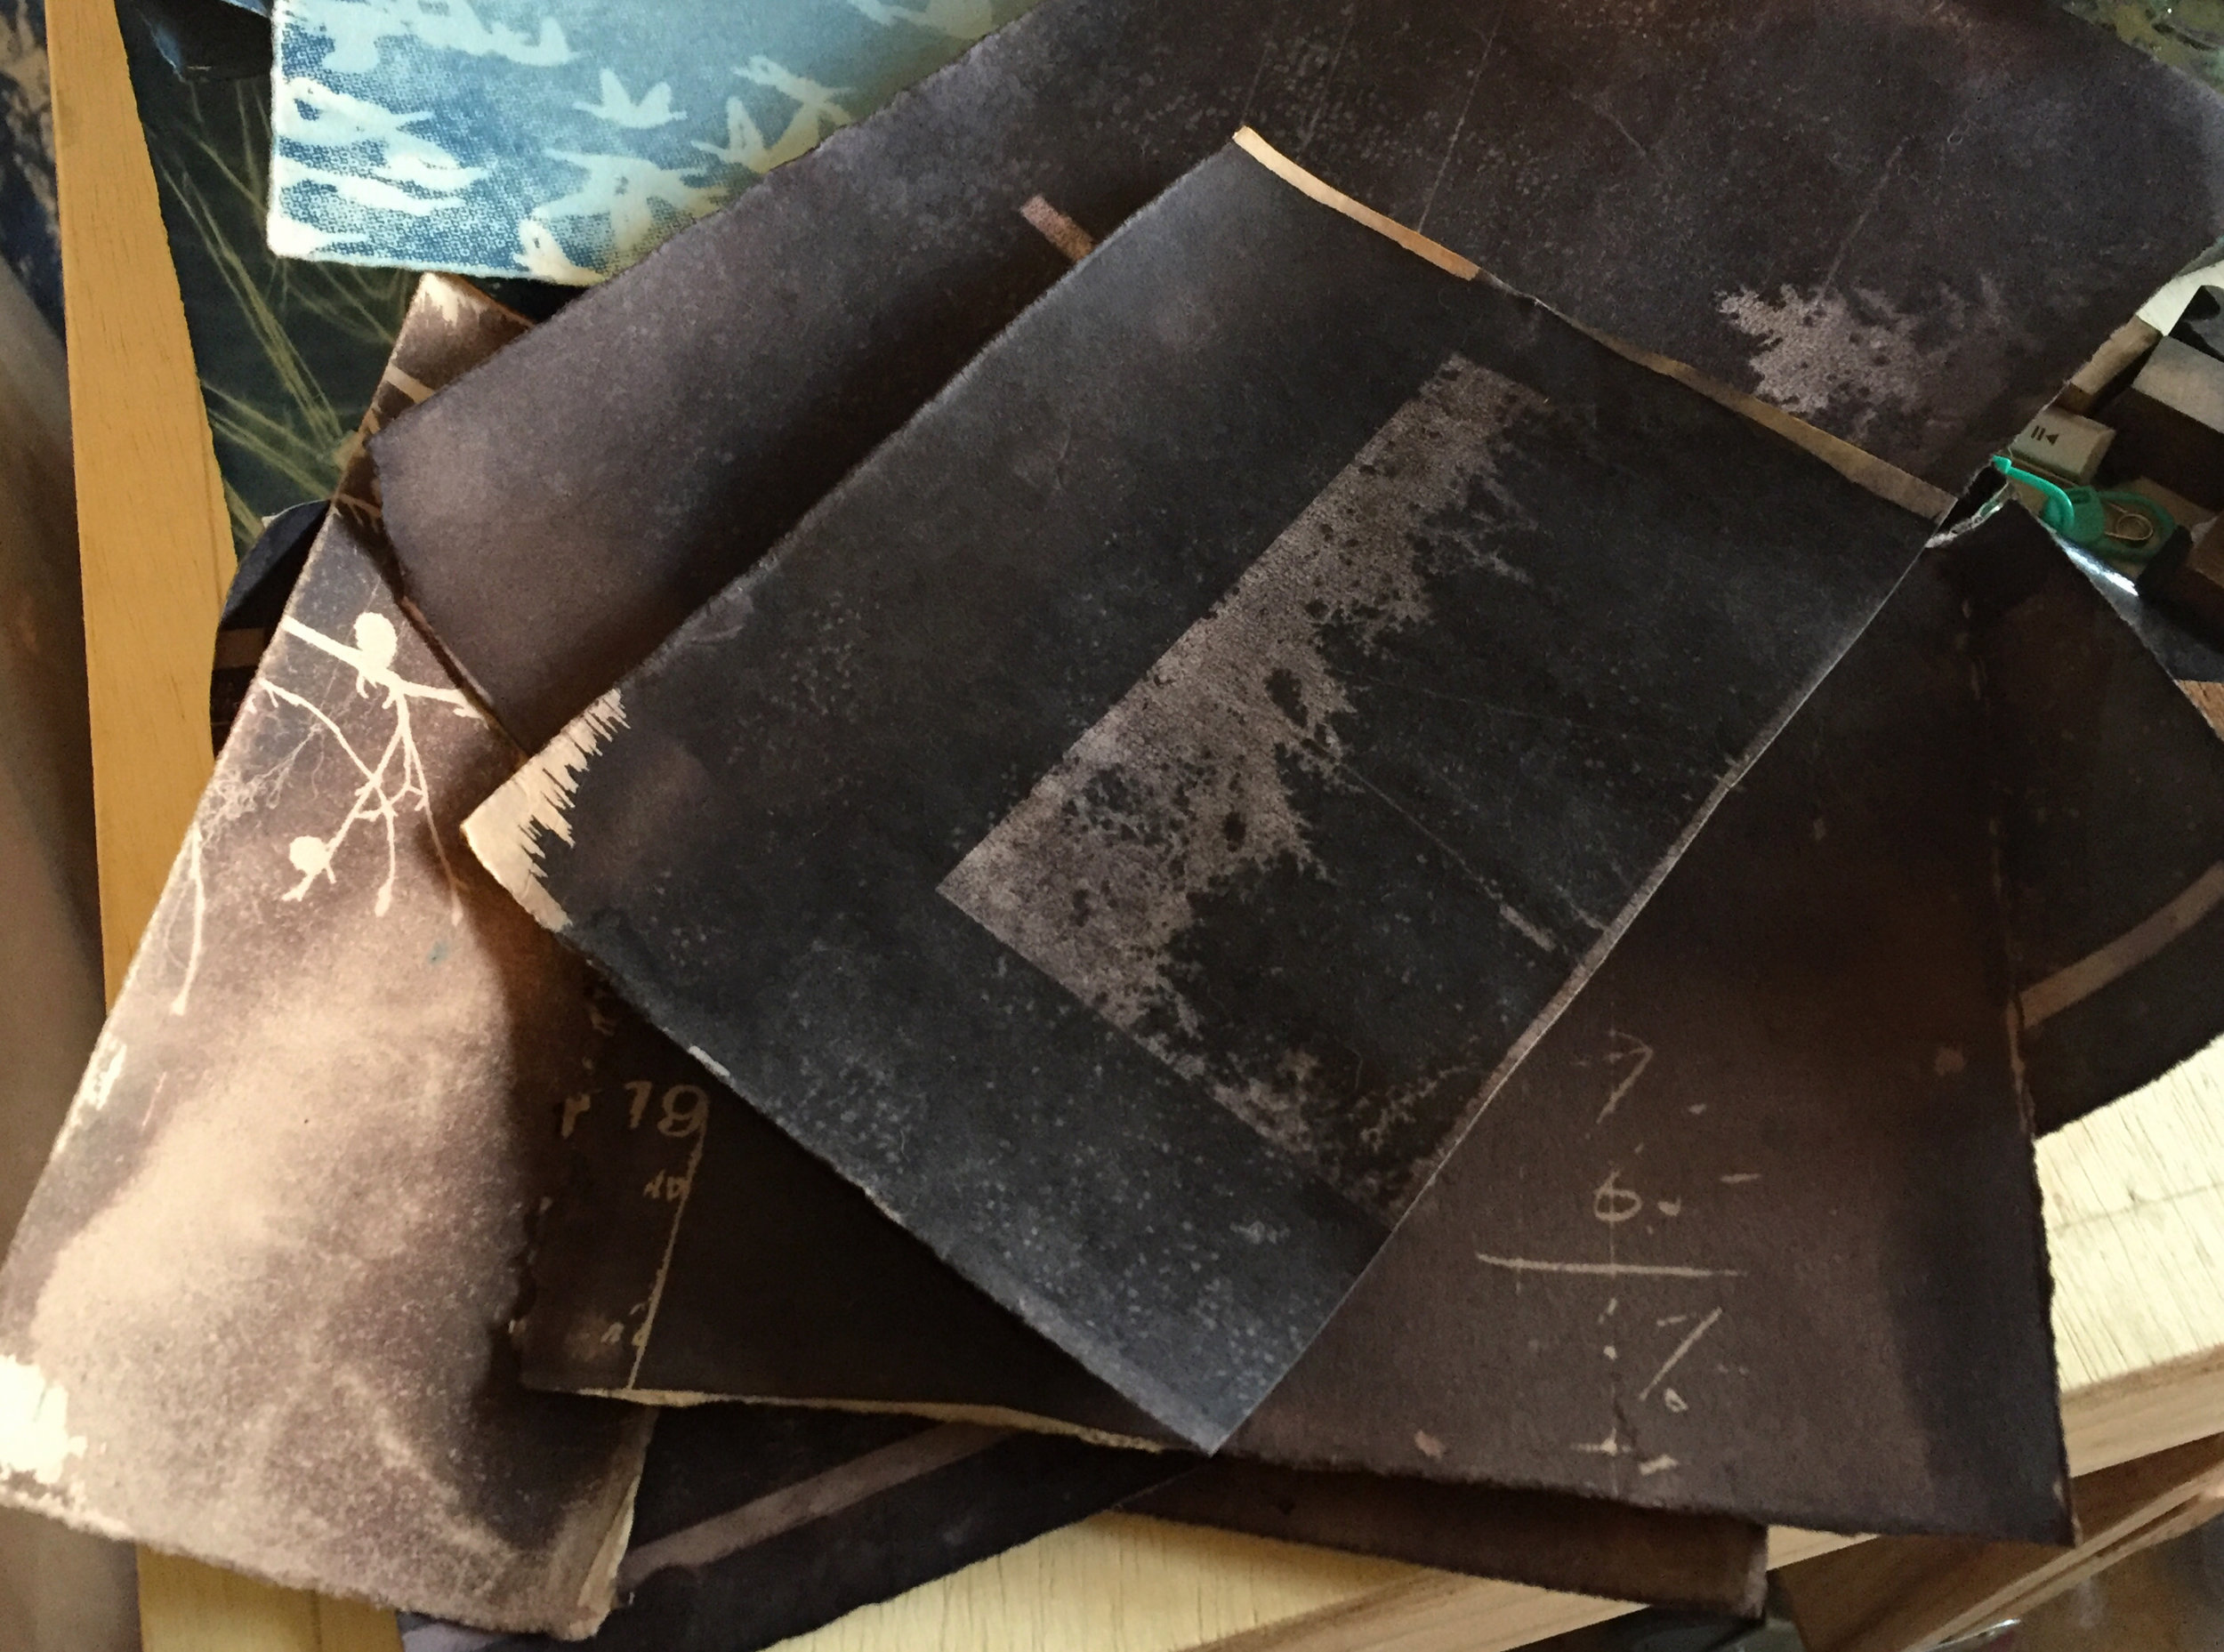
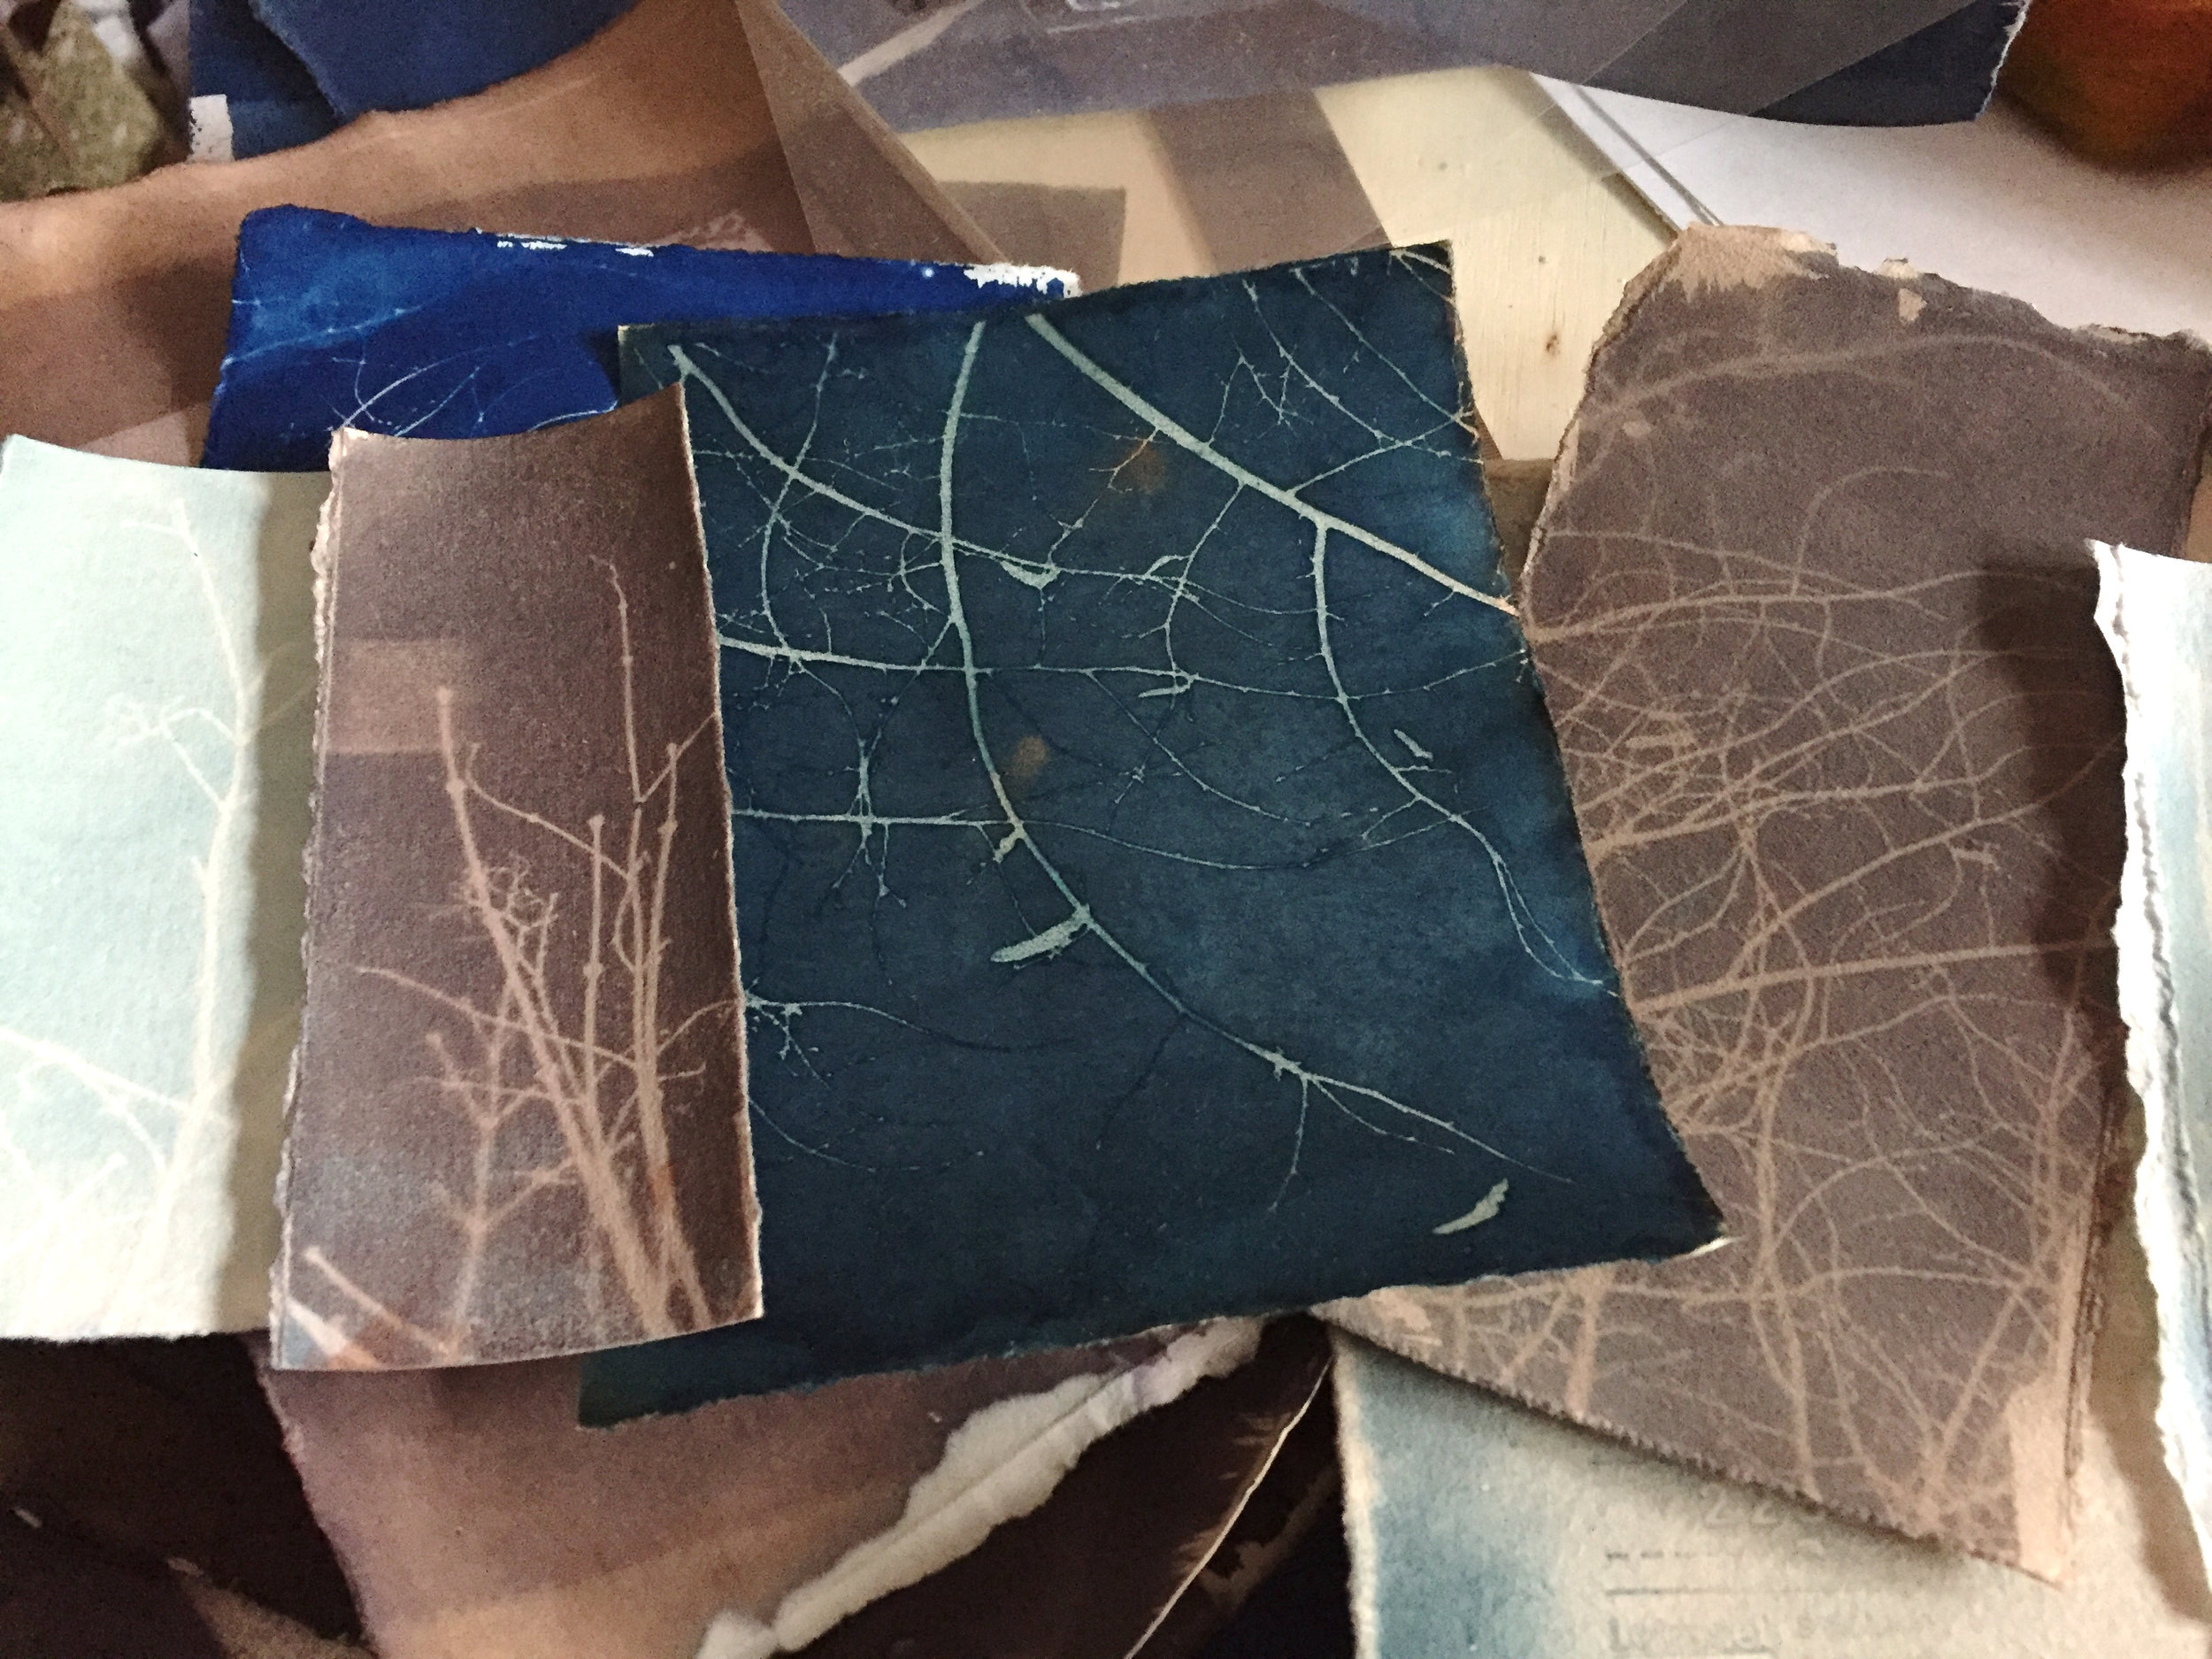
These four collages are ones that are not quite done, even though at first glance they may look like it. With all of those I've gotten to a place where I know they need something more, but I have absolutely no clue. I've got a rigid eye for balance, and these are not quite balanced to me. How do you deal with artwork of yours that are deciding to be mysterious?

I posed this question over on Instagram, and many artists had wonderful words of advice about what helps them.
@looksallylook says: "For me, I sometimes have to identify the thing I'm too "in love" with about a piece, and remove it in order to let the piece breathe."
@hellskitsch says, "I tend to overwork things so it's best for ME to step back from time to time. Perhaps you just need a break? Go do something else and look with fresh eyes. Or look with tired eyes or drunken eyes or a reflection of the work in a mirror. Changing your perspective can be helpful. Or not. 😉 It's an art, not a science."
@writeitonmyheart says: "When I'm stuck, I find that it helps to put what ever I'm working on someplace where I can look at it from a distance. The new perspective allows me to see my work as a whole instead of in sections and I can usually pinpoint where I need to add something or make changes."
@twospotted dogs says: "I have a pile of my "stuck" pieces on my work table right now. One of the ways I work through this is to add, subtract or rearrange things an take photos along the way (I work in collage too). Looking at the photos gives me a chance to compare different options at the same time. Another trick I learned in art school is to try turning the piece upside down. If the composition is "off", it frequently seems obvious with a different perspective. Of course this only works if you have already glued the papers down! :)"
@donnajoy88 says: "I work on something else and come back to it later. Fresh eyes/time and i usually know just what it needs."
@oliverneilsonart says: "I have a whole wall of unfinished pieces. Sometimes they connect together and 2 or more unfinished ones create a third, new piece.also when a year or so passes you can see things fresh and have an epiphany about it - either be ruthless with 'power tool editing' or 'white paint editing' , or it becomes obvious what the piece needs at that remove. The worst is when you add something down the line to 'finish' something that was already fine and it makes it worse. I did that twice last year. So what was once finished is now unfinished."
@birdneststudio says: "Take a break and put them aside. Also, if you knit or stitch, or draw - do something completely different in between - it always helps me:) good luck:)"
@mirtya_arte says: "When we get stuck it is best to leave it aside,until thevplay speaks to us again..."
@ findsanddesigns says: "You just have to walk away (and stay away) for a while. These are looking great!"
So helpful, and so individual. Do go check out these lovely artists' IG accounts!