


I've been bitten by the cyanotype bug again. I was hit by it hard last spring and apparently it's a spring thing for me! Cyanotypes are (according to wikipedia, since they do it better than me) "a photographic printing process that produces a cyan blue print. Engineers used the process well into the 20th century (i.e. blueprints) as a simple and low cost process to produce copies of drawings. The process uses two chemicals: ammonium iron citrate and potassium ferricyanide."
You don't have to become a temporary mad scientist to use it. Kits are easily available online; Jacquard makes a good one called Sensitizer Set and I know there are other ones too. All you have to do is mix equal portions of the two bottles, and you're good to go. I use a foam brush, but a Japanese hake brush is often recommended. It really doesn't matter, as long as you get the results you want. You paint it on whatever paper you want. Use a paper though, that will hold up to the washing. I like to use medium weight printmaking paper, but almost any printmaking paper will work pretty well.
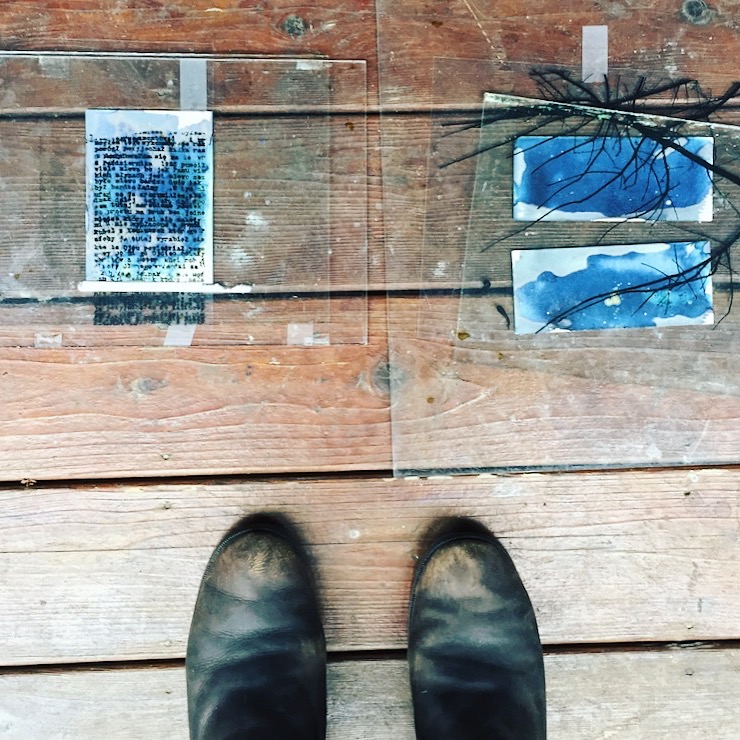
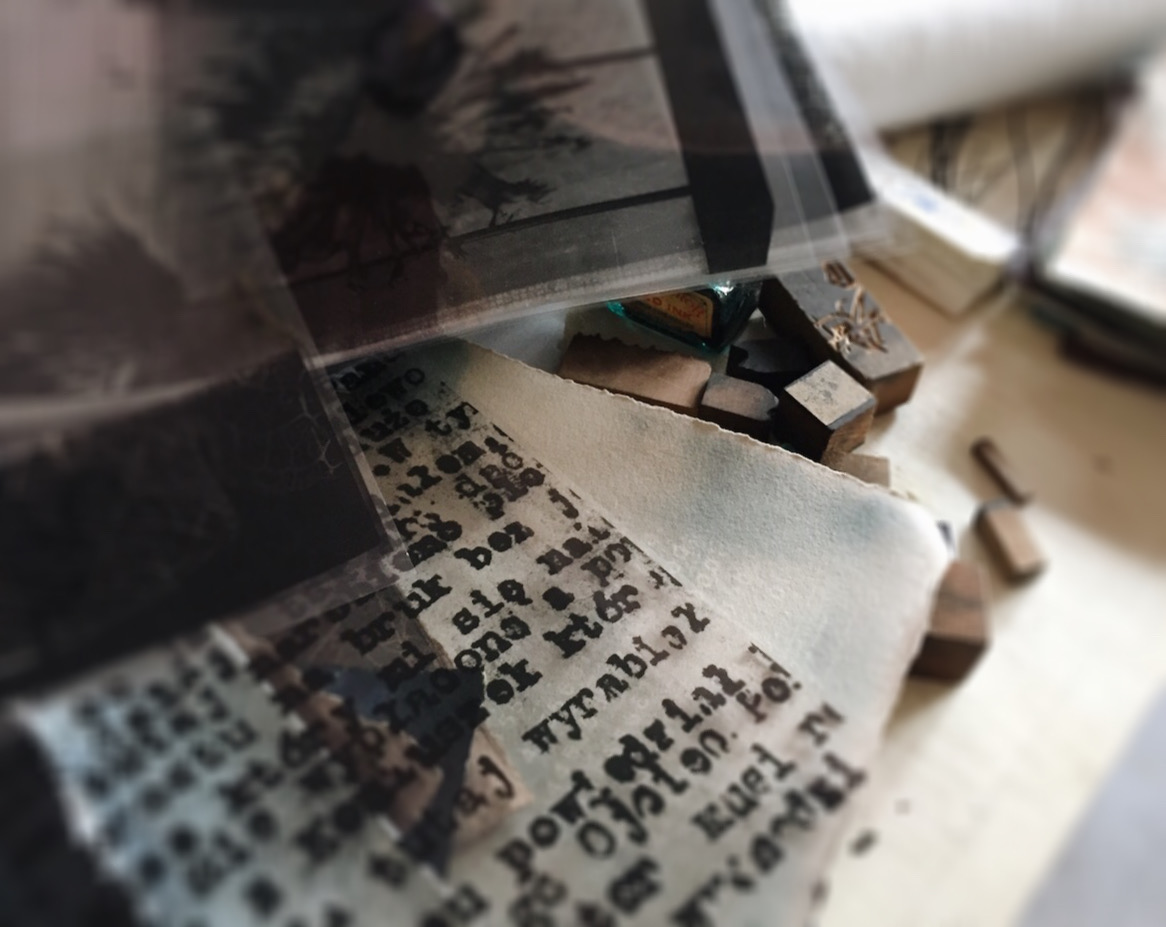
You can prepare your paper inside, best under low light, I prepare a bunch, then let them dry in a couple of cabinets that have shelves. I can store them there until I want them-- you do want to store them in a lightproof area. Next step is to place the objects or transparency that you want to use on top of the paper, and sandwich it between a bottom layer, like plexiglass or cardboard, and place another piece of glass or plexiglass on top. I like to use glass because it's got some weight to it, so it really keeps the image tight against the paper.
Place it in a sunny spot outside, and wait! When it turns a tan color it's ready; check the instructions on the kit for better info. I like to mess around with exposures and paper, so I'm not going for a crisp image.
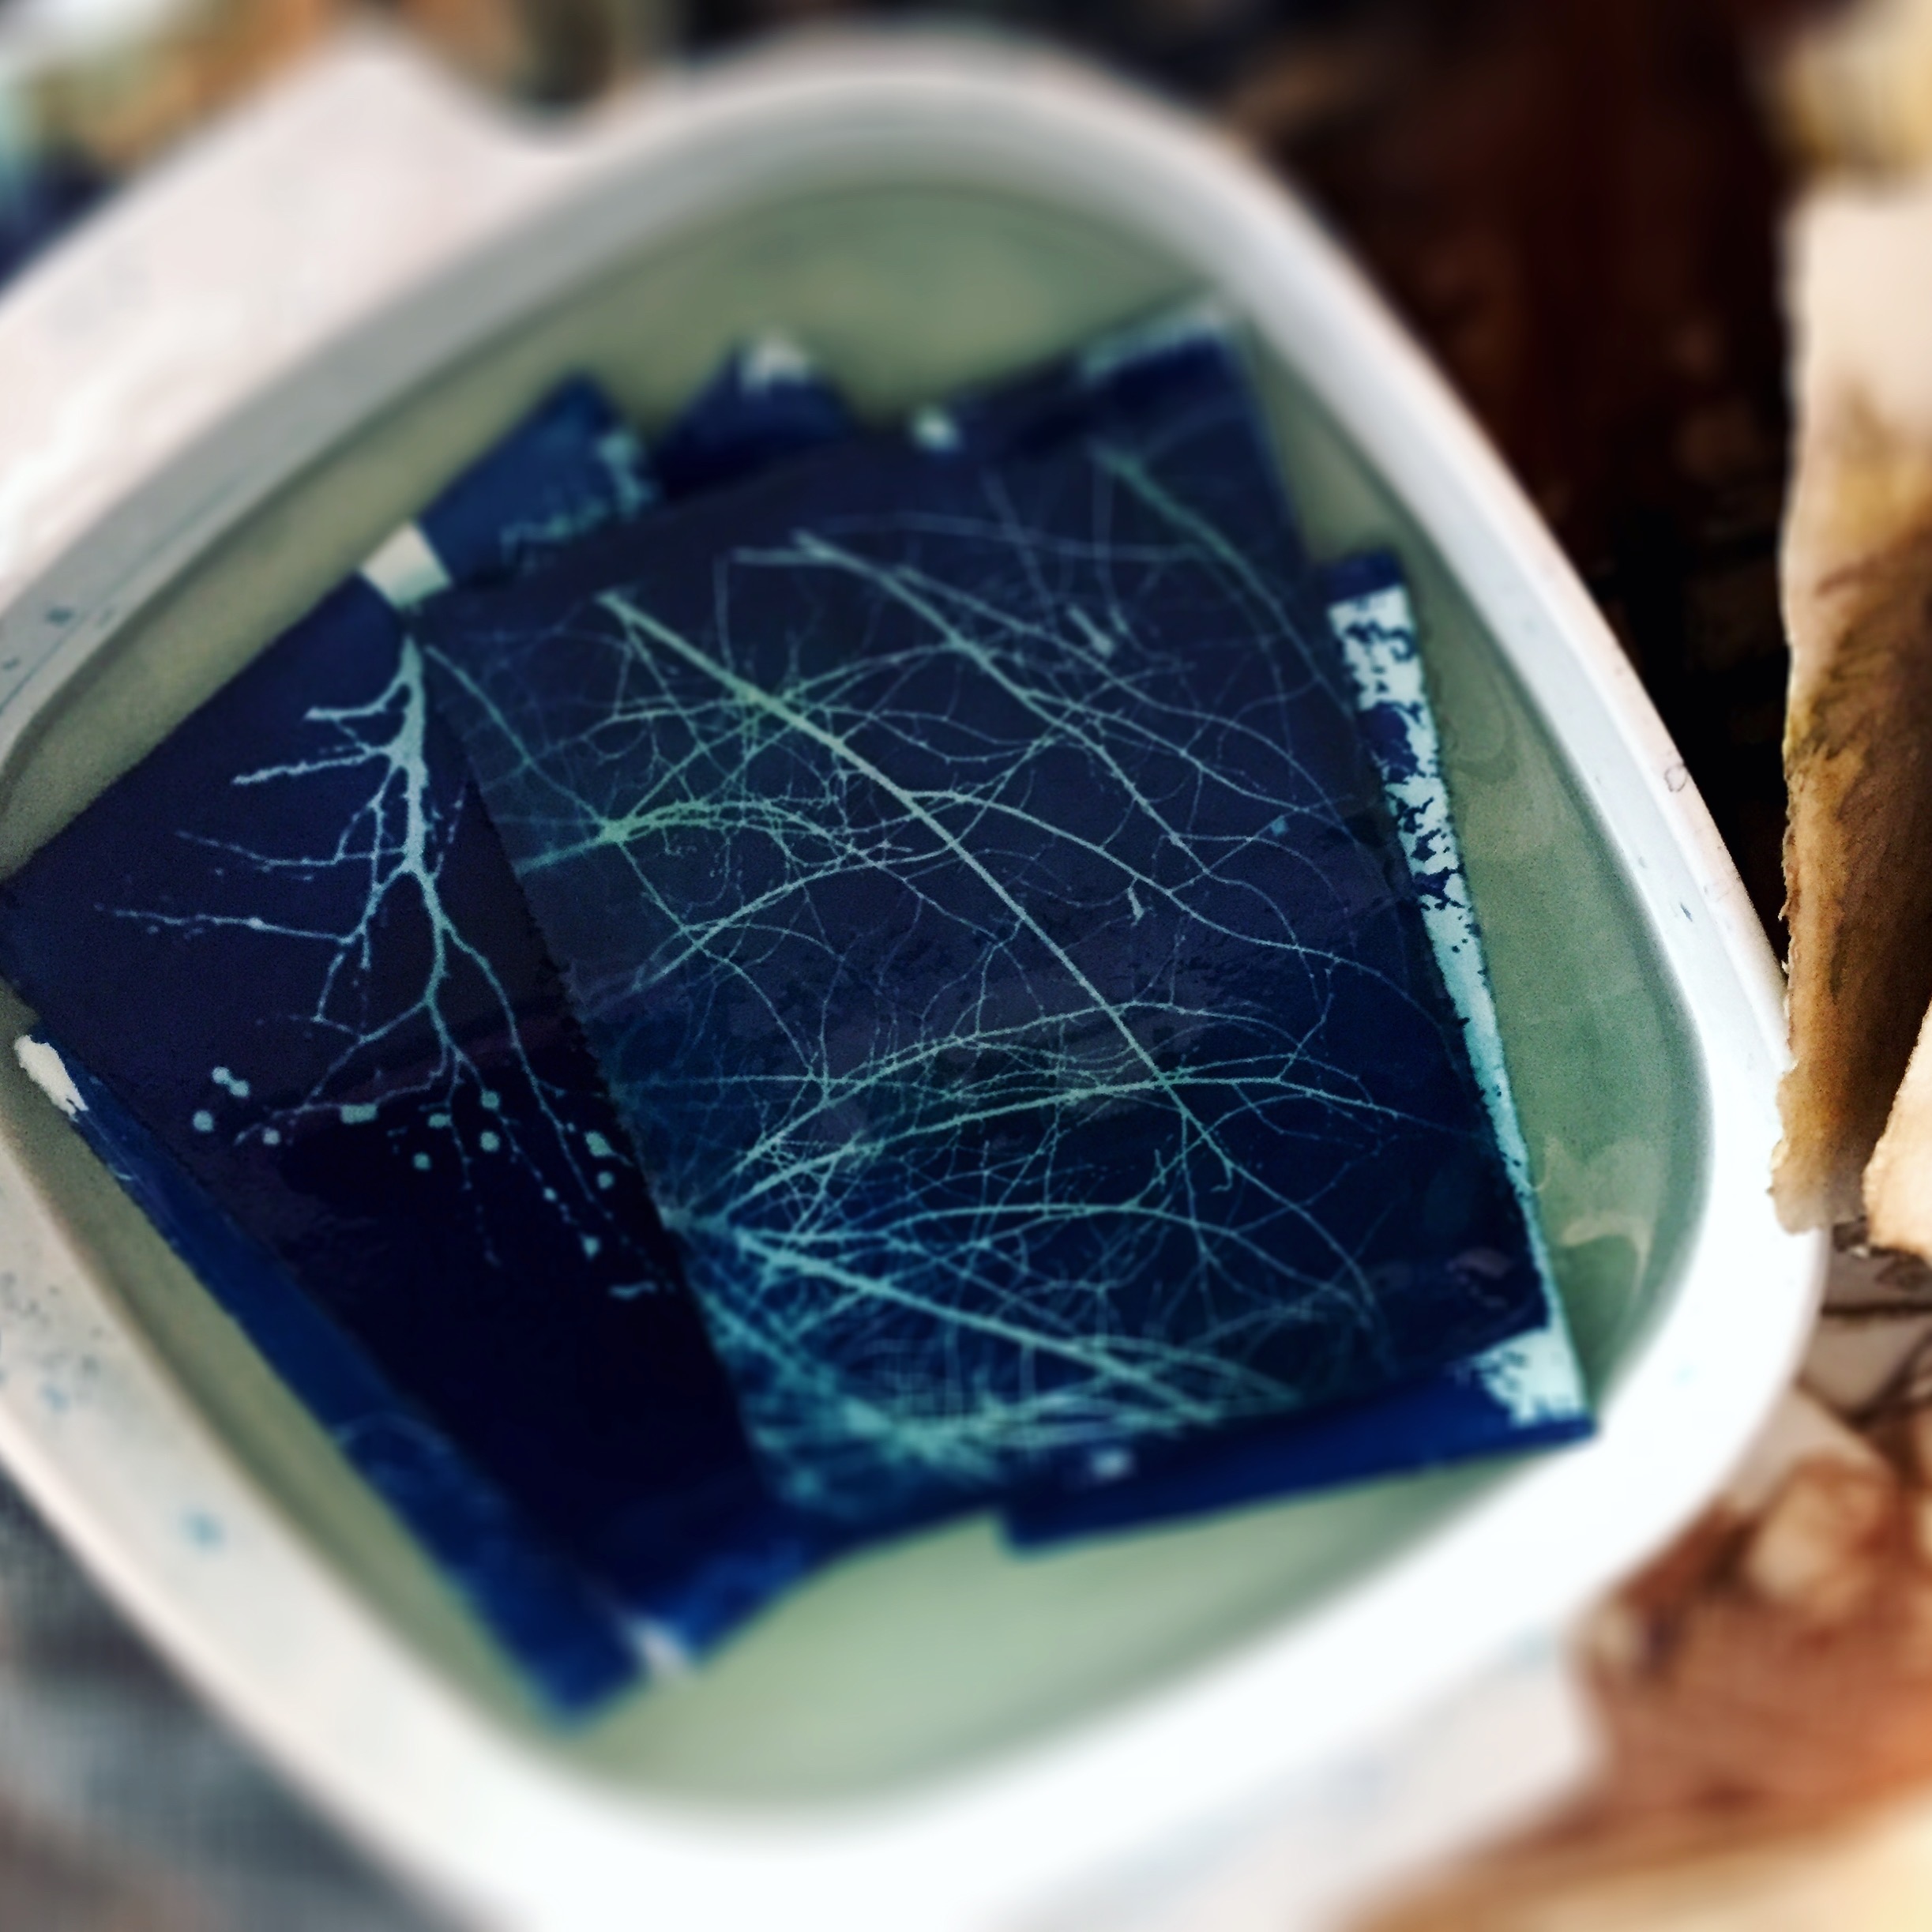
Once done, submerge the exposed paper in a pan of water and agitate it gently. Adding a little hydrogen peroxide to the water will help hasten the blue along. When blue, take it out, blot it, and let it dry. That's it!
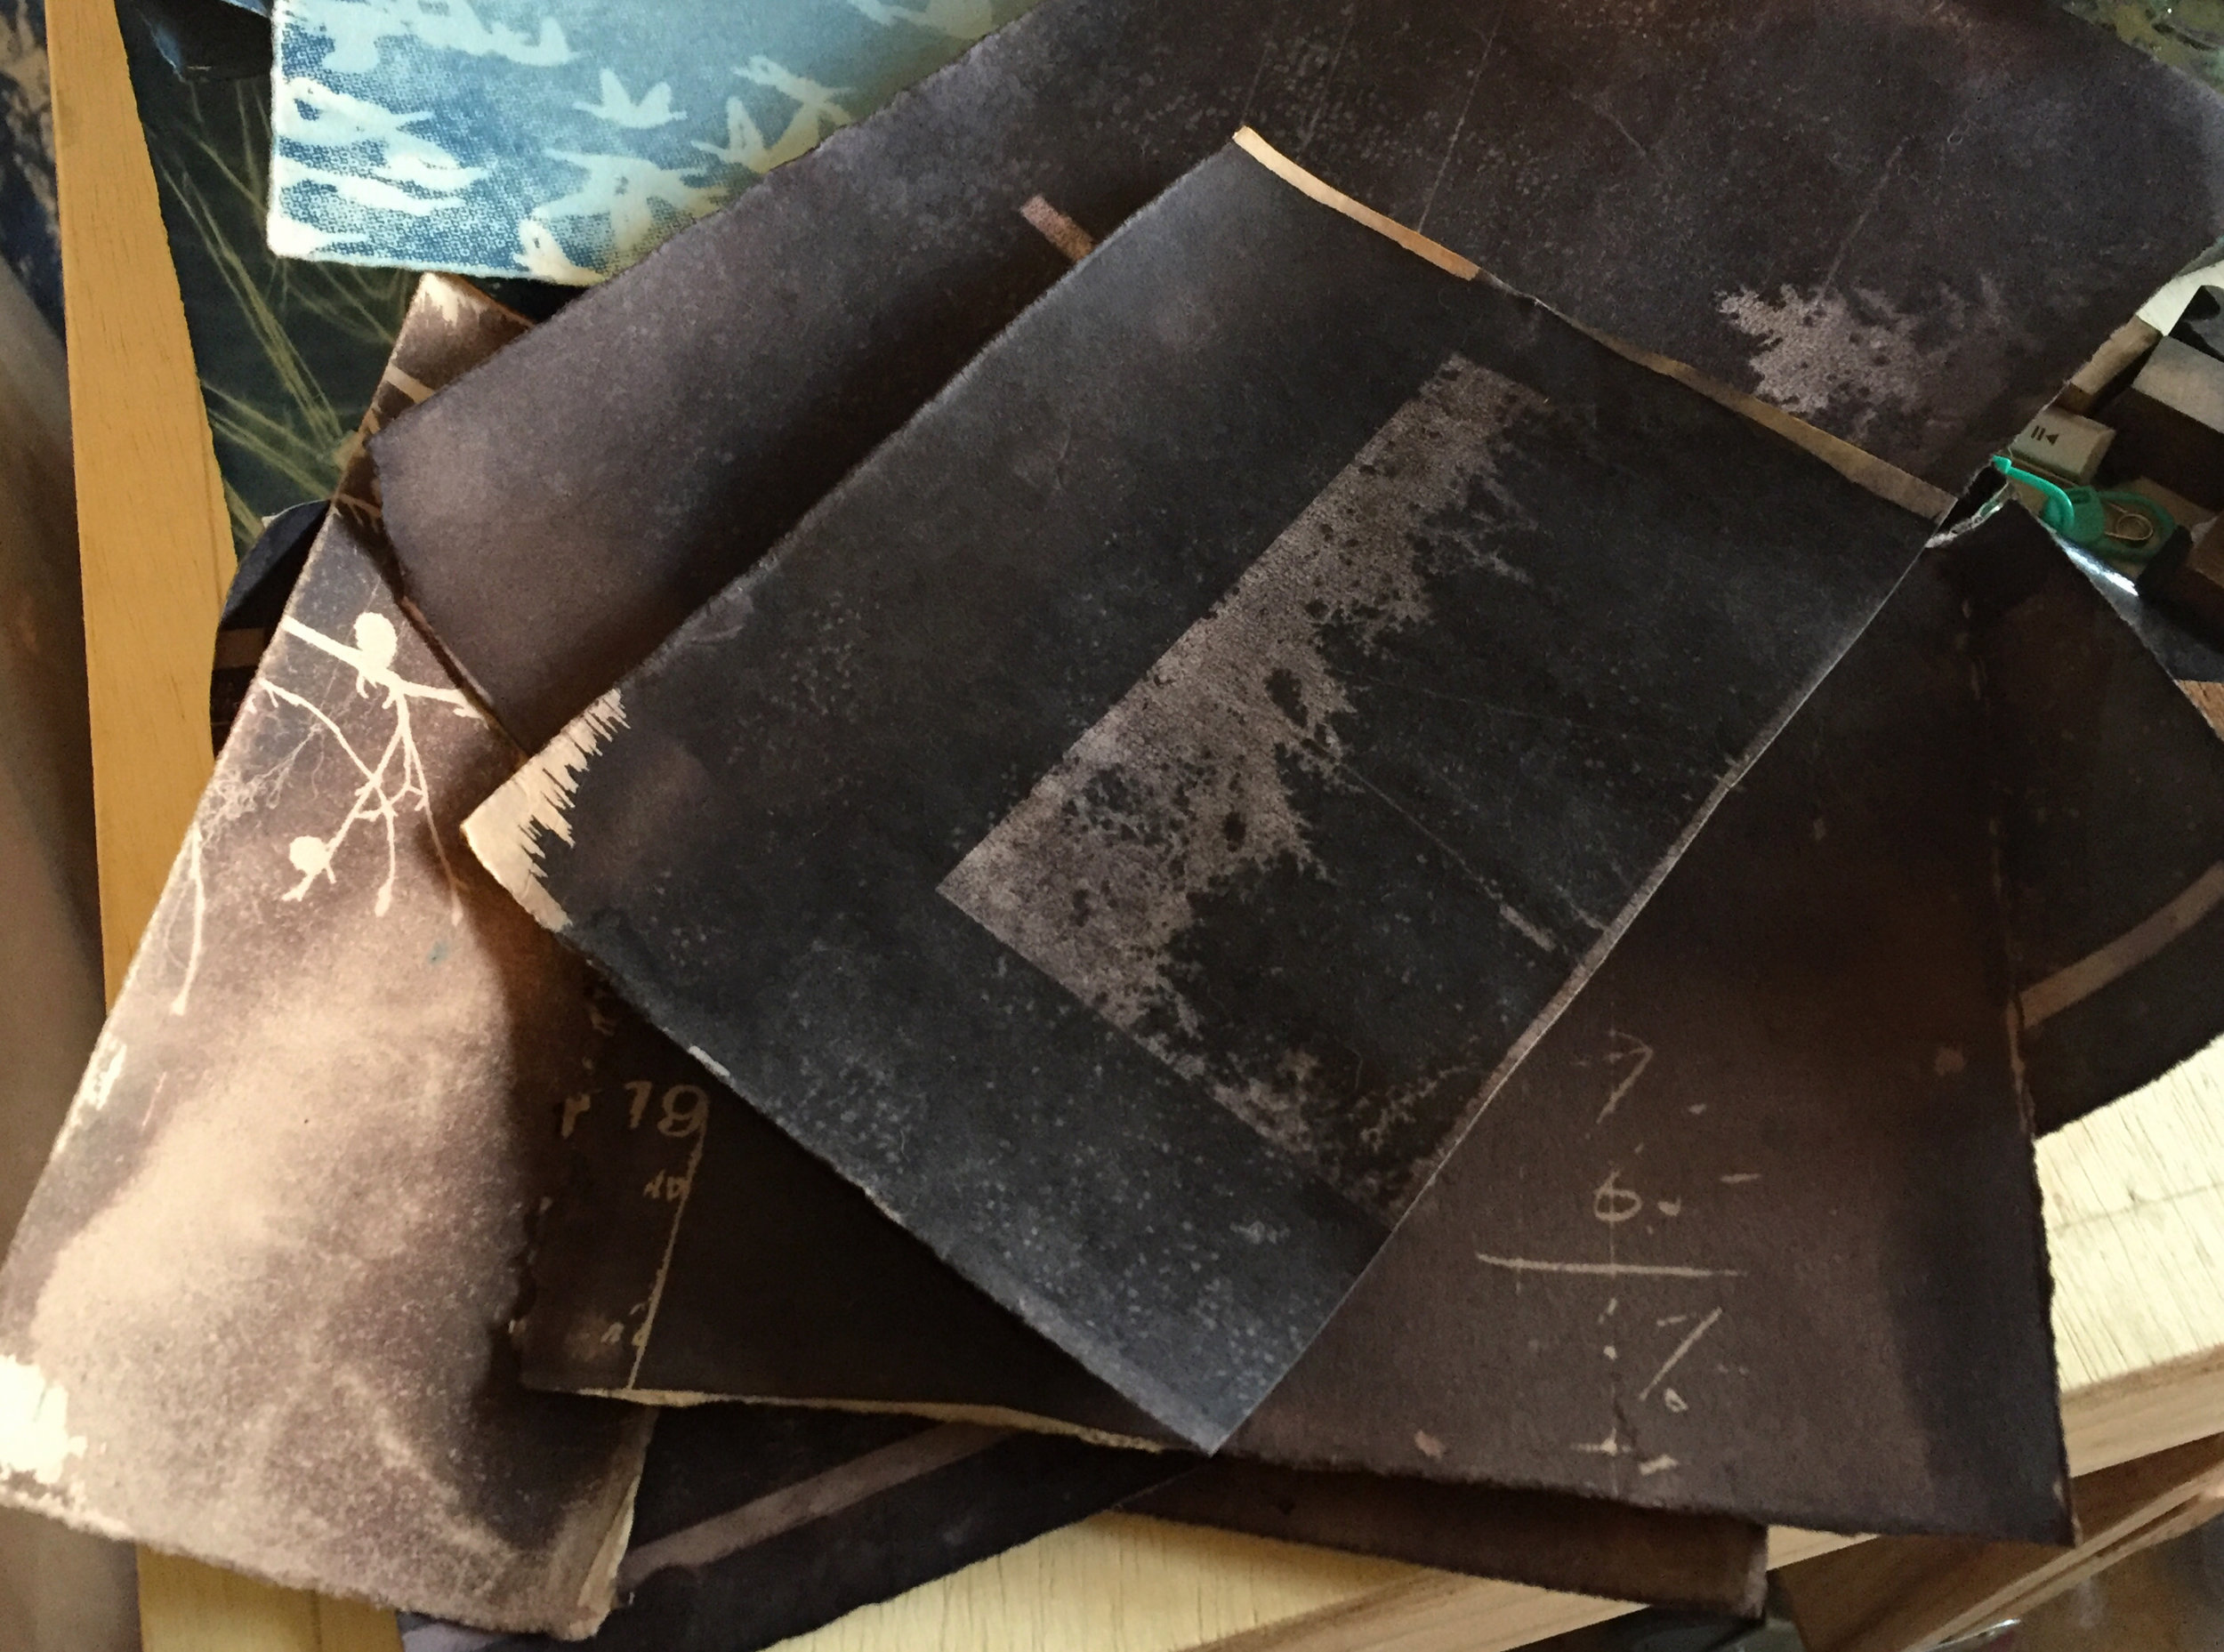
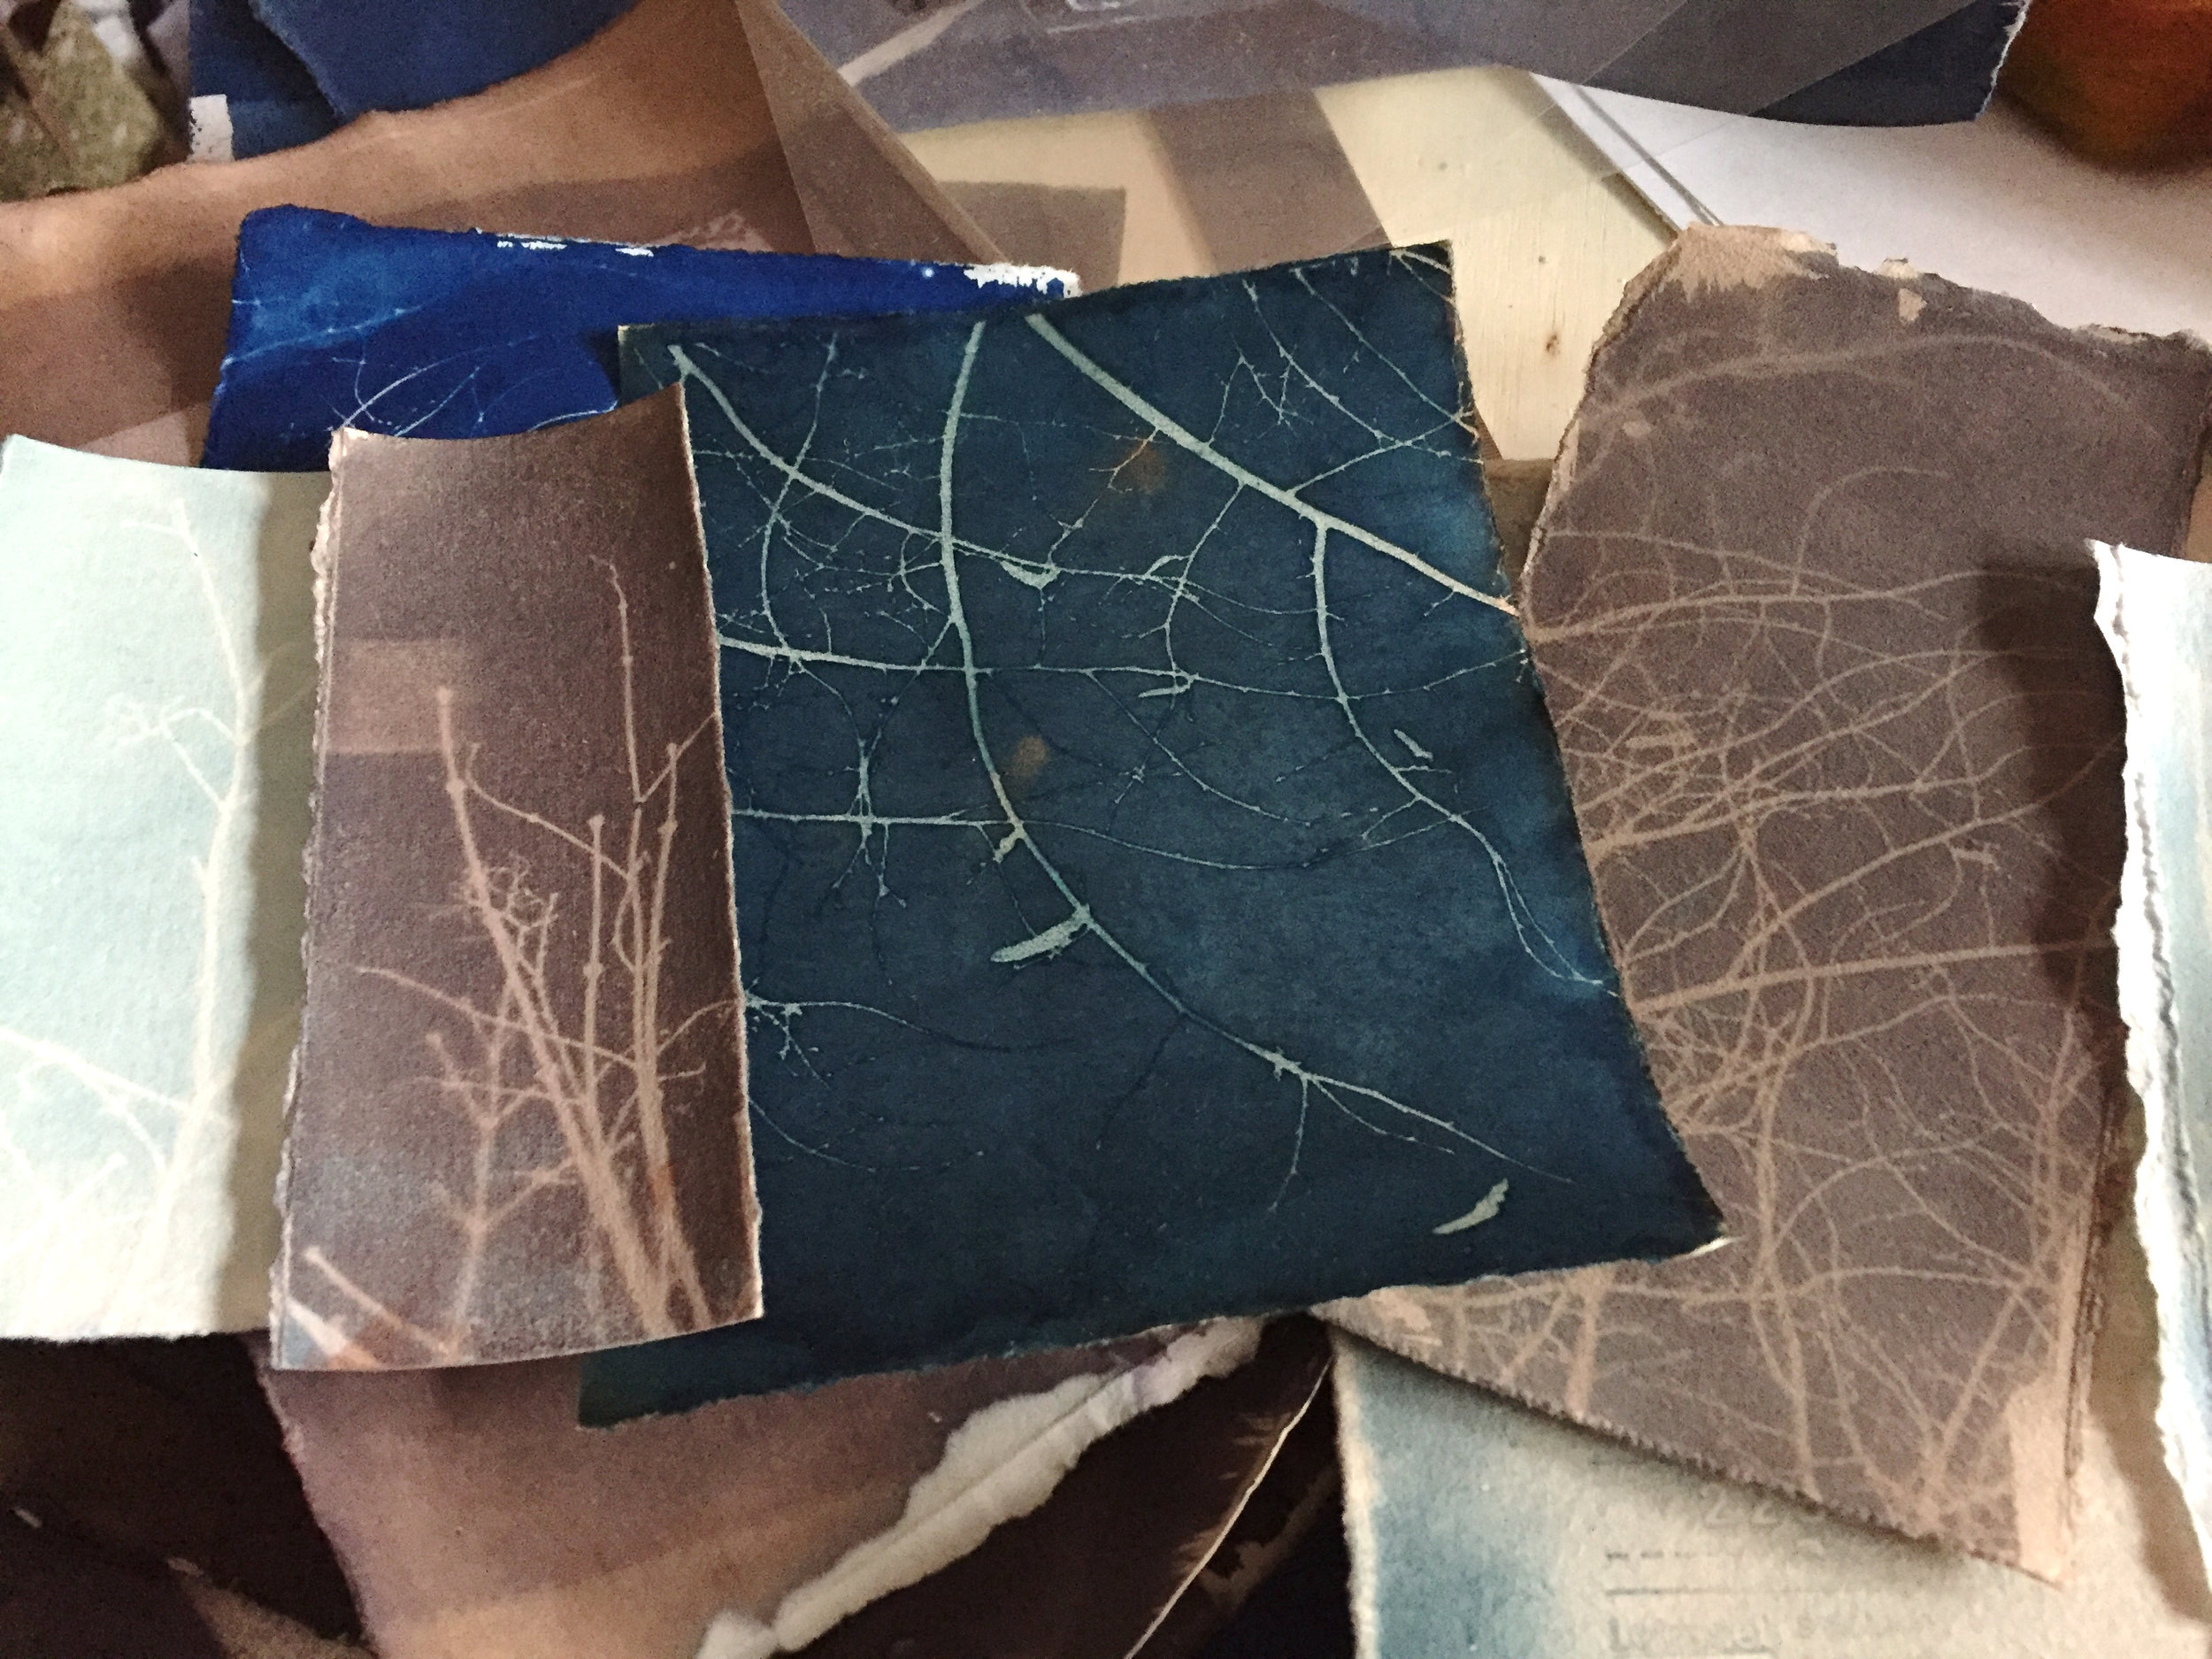
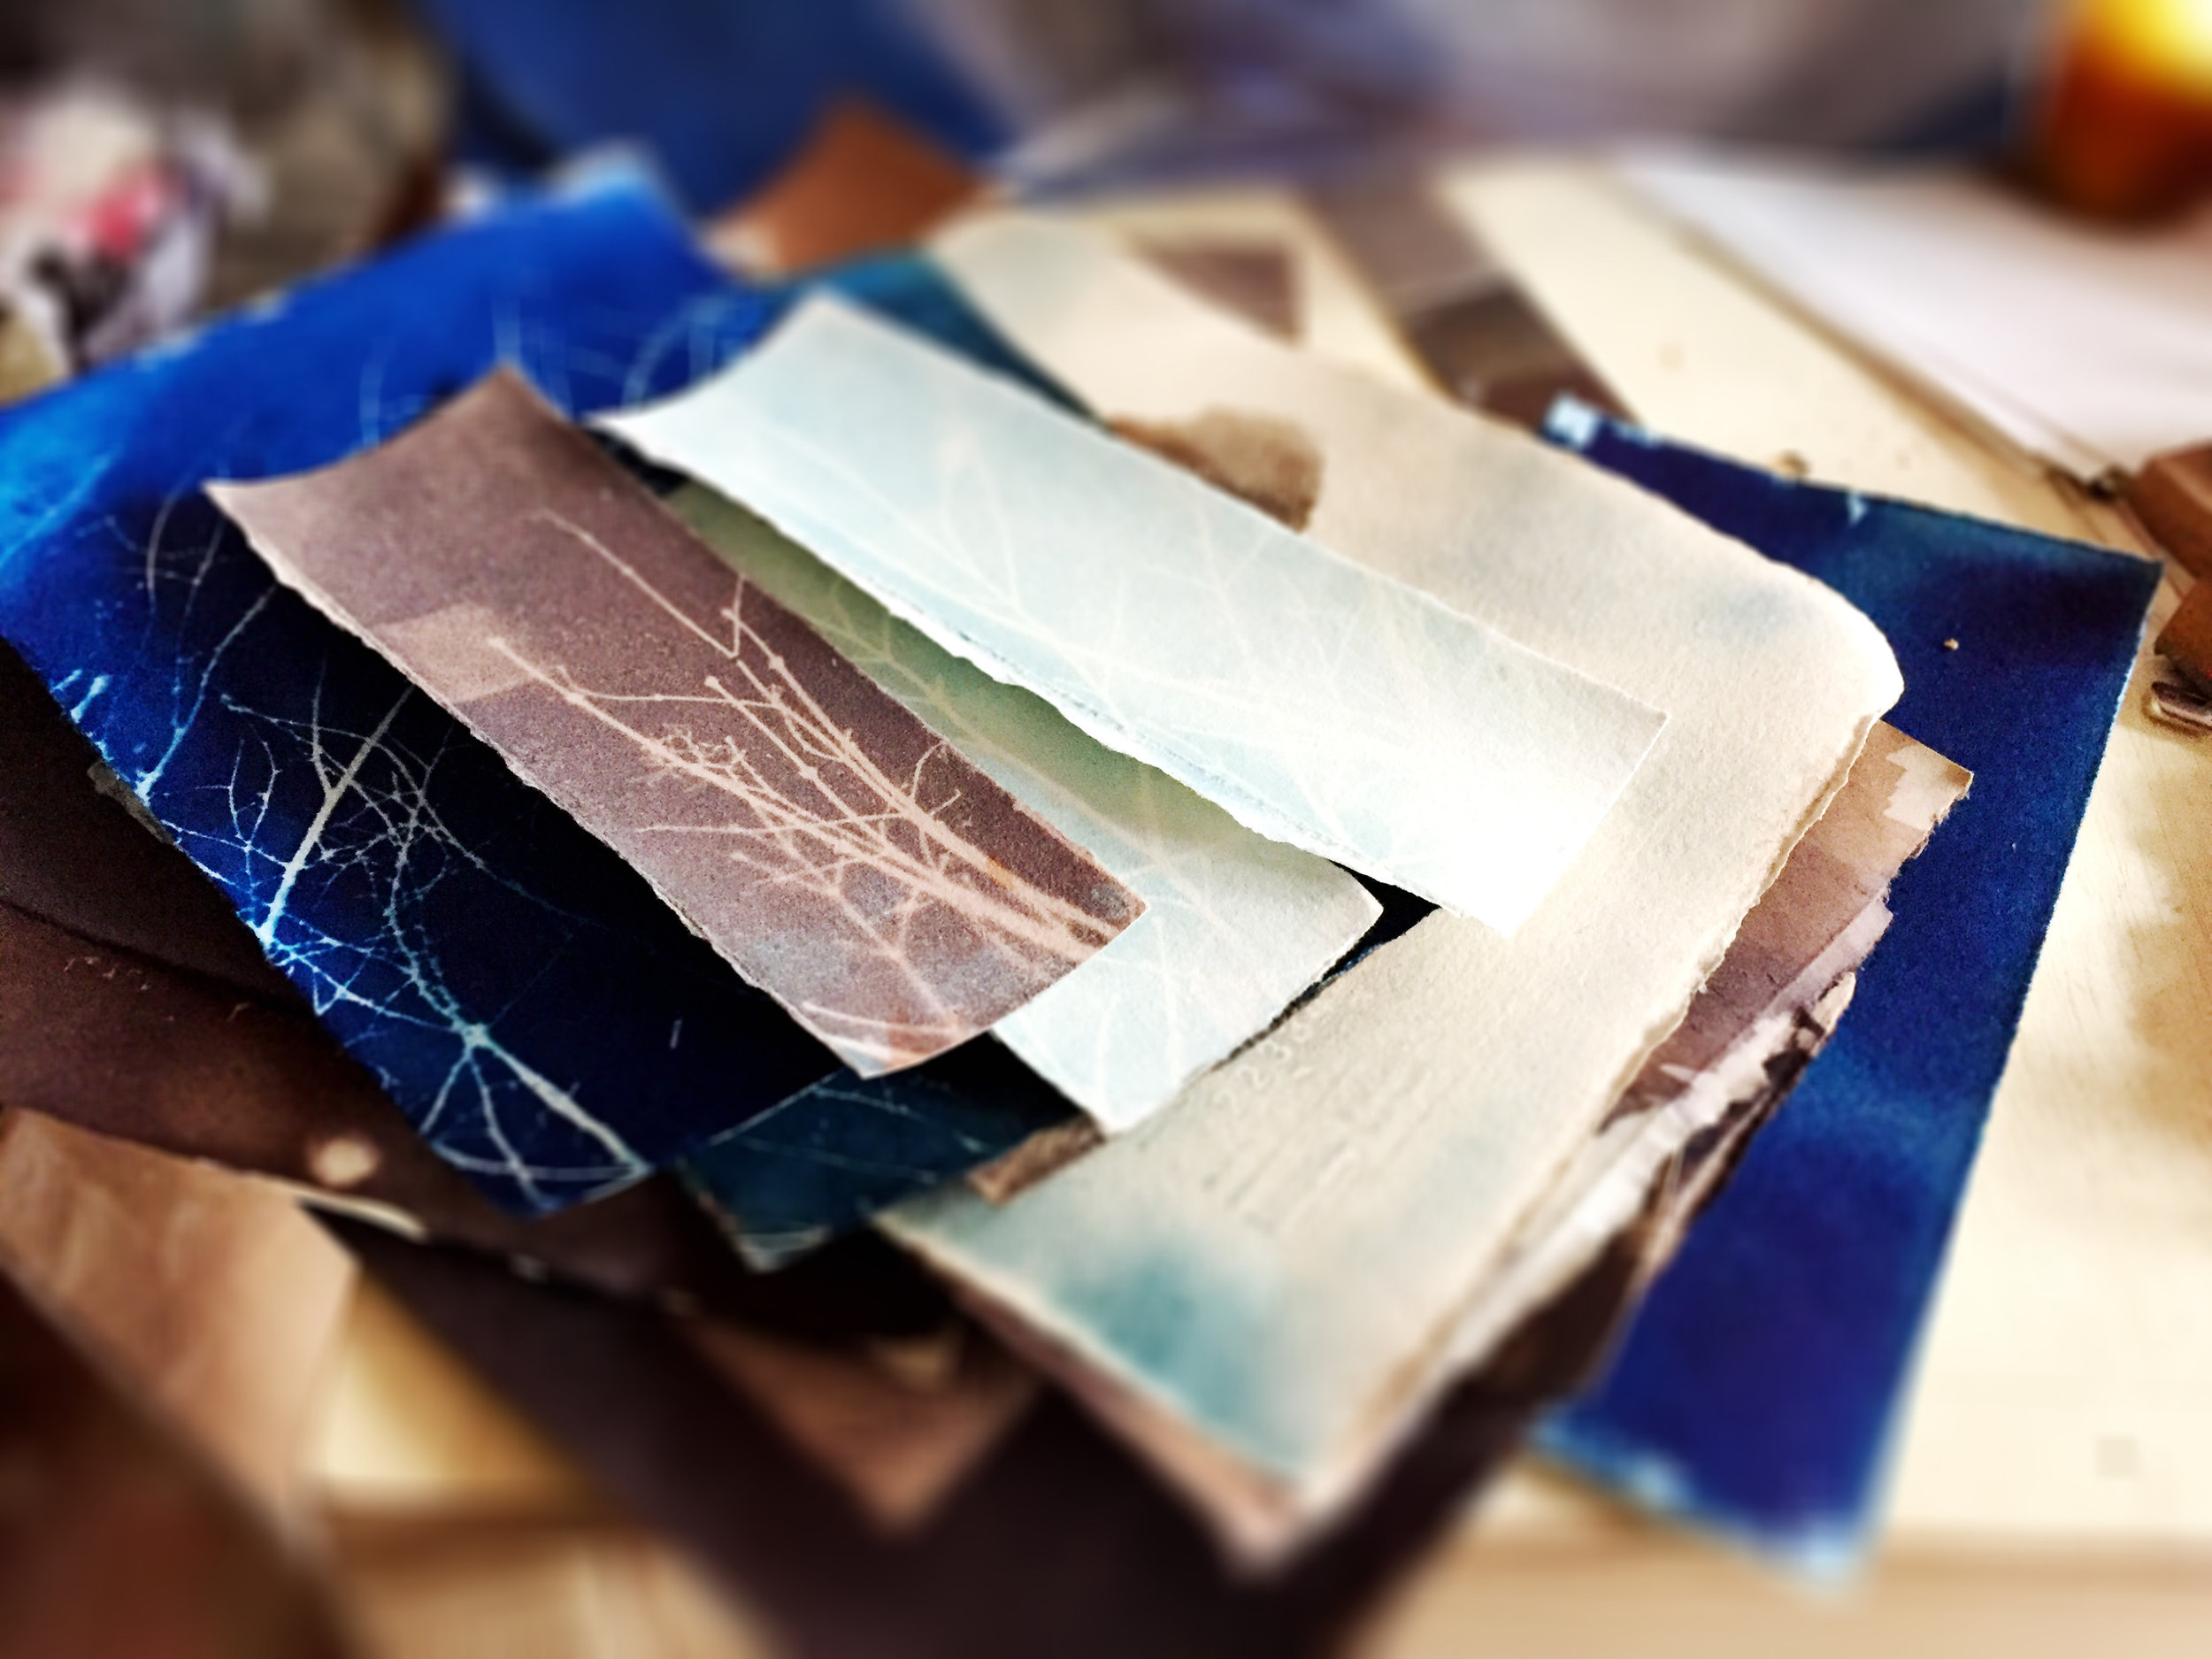
You can take it a step further with toning. Essentially you bleach the image to your desired state, and then immerse it in a bath of whatever you've decided to tone it with.
For bleaching, washing soda, baking soda, and ammonia all work, but you'll get slightly different results with all three. Some things you can use to tone your images are coffee, black tea, green tea, and tannin. Jacquard has a really great downloadable PDF on toning cyanotypes, here.
The length and concentration is up to you. I like messing around with the process, so at the moment I'm just experimenting with combinations. I'm not very scientific at it...I don't make notes. I'm just trying to make new papers I can use for my work.
Here are some links to more about cyanotypes:
christopherjames-studio.com
He has a really in depth PDF about the process, including the history of it.
mikeware.co.uk
Apparently there are two cyanotype processes, the original one, and the New
Cyanotype Process. Photographer's Formulary has a kit for that one. I don't really know the difference. The explanation starts to get a little too technical for me. I've ordered one, though, which I just received today, so I'll keep you updated once I've tried it.
cyanotypestore.com
There's a whole store with cyanotype materials. I just stumbled across this, so I haven't looked through it, but it looks like you can get pretty much anything you need there.